
We know. Removing a tick from your dog is something every owner dreads. While it’s not pleasant, it’s important to do it quickly and correctly in order to keep your dog safe. If your pup spends a lot of time outside, removing ticks might just become part of your daily routine. In many areas of the US, ticks are active year-round.
Why do I need to remove it?
It’s tempting to just let a tick run its course. How bad can it really be, right?
The answer is, pretty bad! Ticks can carry infectious organisms that infect animals and people with illnesses such as Lyme diseases, ehrlichiosis, and Rocky Mountain spotted fever to name a few. This can occur as fast as three to six hours after a bite, so it is imperative that you remove a tick as soon as you possibly can to avoid your dog getting sick.
How do I know it’s a tick?
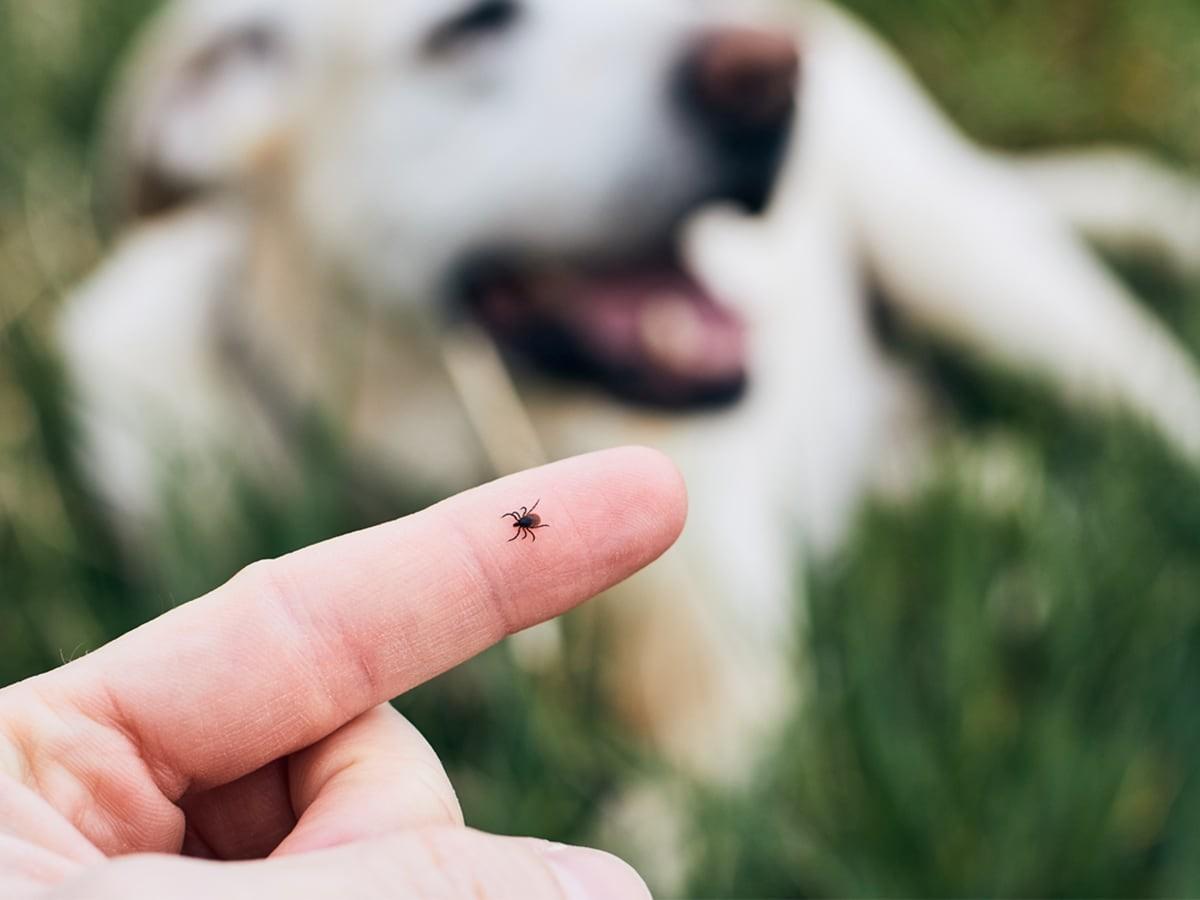
The United States has roughly 200 different tick species that can survive in tons of different locations including woods, lawns, forests, beaches, and even urban areas. Tick-borne diseases are found in all 50 states. They range in size from about the size of a pinhead to the size of a human fingertip.
In general, ticks are small and have a round body shape. They can be black, brown, tan, or grey in color. They are arachnids, meaning they have eight legs (except for one species that has six) and may closely resemble a spider.
It’s important to check your dog for ticks regularly, especially if you are in an area known for having a high concentration of them. They are not always easy to see, so conducting regular checks is the best way to avoid an infection. To conduct a check, run your hands over your dog’s body and feel for any small bumps on the skin. When a tick begins to feed, they will fill with blood (gross, we know!) and feel like a bump when you groom your pet. Pay particular attention to the areas around your pup’s head, legs and paws, groin, and armpits.
How to remove a tick
Now for the removal process. To conduct a safe removal, you will need:
Gloves
Clean, fine-point tweezers
Disinfectant or antiseptic cream
Isopropyl alcohol
Optional: Magnifying glass
Step 1: Ready your ingredients. Put your gloves on, get your clean tweezers out, and have your isopropyl alcohol ready to go in a glass or small container (the tick will be going in there). The gloves are an extremely important step because they will prevent ticks from making contact with your skin. Ticks can transfer between hosts, and we don’t want that next host to be you!
Step 2: Make sure your dog is comfortable. You don’t want him or her to run away or move abruptly while you are removing the tick. Try to keep your dog calm and have him or her sit down, if possible. A treat or two may prove to be a helpful distraction!
Step 3: Use your tweezers to remove the tick. If the tick is very small, use a magnifying glass to help you with the removal process. Spread your dog’s fur, then grasp the tick with the tweezers as close to your dog’s skin as possible without pinching your pet. Gently, pull the tick out in a slow, steady, and upward motion. The goal is to pull the head of the tick out of your dog’s skin while it is still attached to its body. Scan the area to make sure there is nothing left behind, as this could lead to an infection. If the head of the tick is still embedded in your dog’s skin after the body has been removed, don’t panic! Do not attempt to remove the head yourself as you might cause more irritation and inflammation that can increase the risk of infection. Instead, contact your veterinarian to remove any remaining pieces of the tick.
Step 4: Cleanup. Drop the tick into your isopropyl alcohol and clean your pet’s wound with the antiseptic. Many veterinarians recommend keeping the tick in the container in case your dog begins to feel sick, so that they can identify what kind of tick bit your pup. Different kinds of ticks can carry different diseases, so being able to identify the tick may help with a diagnosis. Lastly, make sure to clean your tweezers with the isopropyl alcohol and wash your hands!
Step 5: Monitoring. Take note of the date you found the tick. Make sure to keep an eye on your pup over the next few days to make sure they aren’t exhibiting symptoms of a tick-borne illness. Some symptoms to watch out for are arthritis that lasts for a few days, swollen joints, fever, fatigue, loss of appetite, reluctance to move, swollen lymph nodes, and neurological problems. If you notice any of these symptoms in your pet, consult your veterinarian and let them know the date that you found the tick.
Preventing future bites
The best way to avoid future bites is to keep your dog away from areas that may have a high concentration of them. We know in many cases this might be almost impossible, because ticks can thrive in a lot of different climates and areas. The next best option is to check for ticks, comb your dog with a flea comb, vacuum, mow areas of the lawn where your dog spends time, and wash pet bedding regularly!
There are also effective oral prescription products on the market that will provide protection against fleas and ticks. Ask your vet to find the right prescription for you.
Remember that ticks can transfer between hosts. You should check all members of your family for ticks after outdoor activities, especially if you have recently found a tick on your dog.
Keep your dog happy and healthy
Spot Pet Insurance is here to help support your pet’s health. Check out the accident & illness and accident-only pet insurance plans that we offer. We also offer a preventative care coverage add-on option for an extra cost.